This adorable little man chewed the last dog bed I bought him that cost me $30. After that I started trying to figure out a way to make a bed without the fuzz he enjoys to chew so much. Through my research I found a ton of different tutorials. I'm going to show you my modified version of all of them.
What you will need:
3-1 1/2 Inch PVC pipes
4-T Connector PVC fitting
4-Round PVC fitting
PVC Cement
Round Washer Head #8-18x1/2"
1 1/2 yards Outdoor Fabric
Washers to fit
Tape Measure
Saw
Marker
2 People
How to:
1. Grab your first piece of PVC pipe and measure 25.5 inches, mark it and cut it with your saw.
2. Cut another piece the same size (25.5 inches)
3. Grab the rest of your PVC pipe. Measure 34.5 inches and cut with your saw. I personally had Chris do it because I'm too scared of cutting off my hand with the electric saw.
4. The piece left over should be 34.5 inches. Cool how that works out, isn't it?
5. Now we are going to cut the legs. Grab your second piece of PVC pipe. We need 4-4 inch pieces.
6. Now that we have all of our pieces cut. I laid everything out and put together the corners first.
I saw on some sites where they ordered a specialty T connector that has the round piece attached. I wasn't patient enough to order it and wait for it to come in. I went with this modified version because all these pieces were found at my local Home Depot.
 |
| From the top |
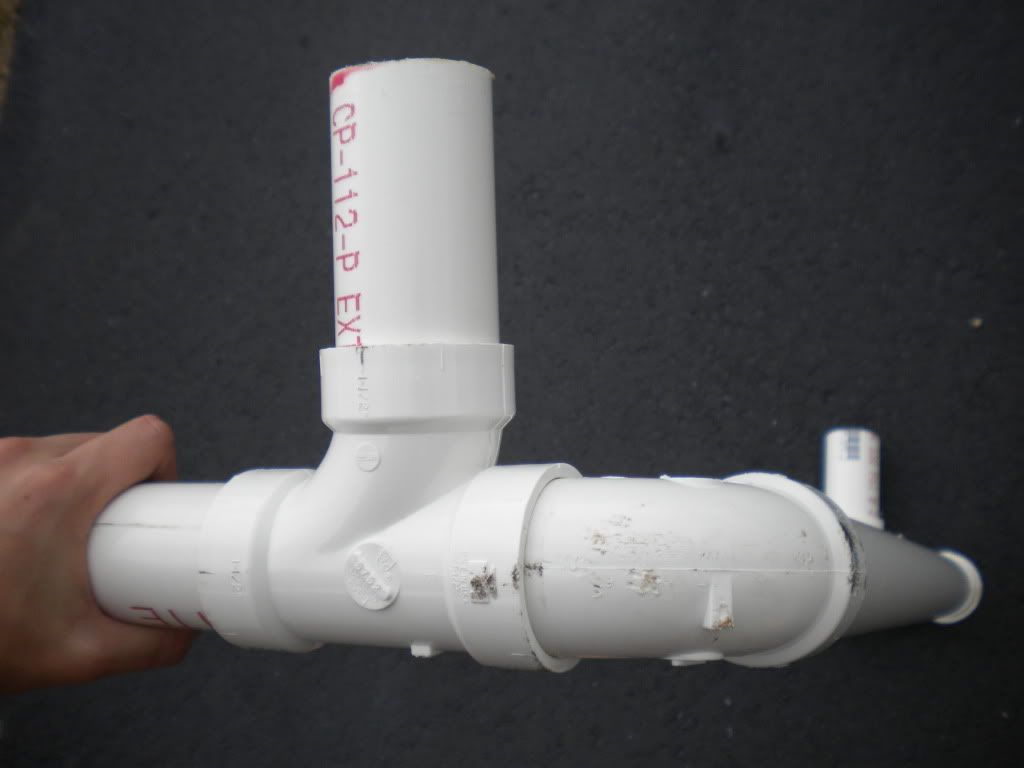 |
| Sideways |
7. Once I got the corners together, I connected the rest of the bed together.
8. I found it easy to then take the parts apart one piece at a time and use the PVC Cement in each connector. I saw some of the tutorials screw together each piece but I thought the PVC Cement would be easier.
9. Once you get the bed together and let the PVC Cement dry, your going to want to get the fabric screwed on. I laid out the fabric, then put the dog bed upside down on top of the fabric.
10. Then cut a small slit in the corner. (In the bottom left hand corner of the picture you can see where I started the slit)
11. Next we're going to get the Screws and the Washers. I bought #8 x 1/2". These worked really well with the 1 1/2 PVC Pipe.
12. We started in one corner and worked our way around.
Make sure as you go around that you are pulling the fabric tight. I trimmed the extra fabric around the corners once we were completely done. Also, we put about 4 to 5 screws in each side of the bed trying to get the screws more on the bottom than the side.
Now I'm sure your wanting to know how much this cost, right? It was cheaper than you think!
Breakdown:
3 yards of Outdoor Fabric ($6.00 per yard on sale) $18.00
3 PVC Pipes (3@$3.96) $11.88
PVC Fitting (8@$1.04) $8.32
PVC Corner (8@$1.72) $13.72
PVC Cement $3.91
Screws $3.92
Washers $0.98
Total = $60.82 for 2 Dog Beds
That leaves our total per bed = $30.41 and some blood and sweat!
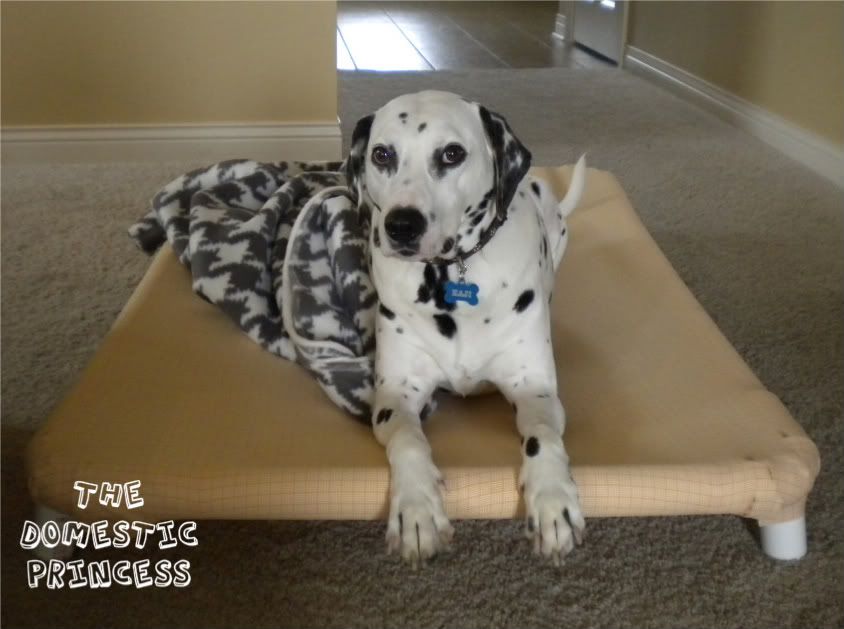
 |
| Don't they look so happy? |
I also bought some fleece because my dogs like to have a blanket to curl up with. I bought this for $4.99 a yard at Joann's.
We could not be happier with how these turned out. What do you think? Do you think you will try to make these beds for your dog?


